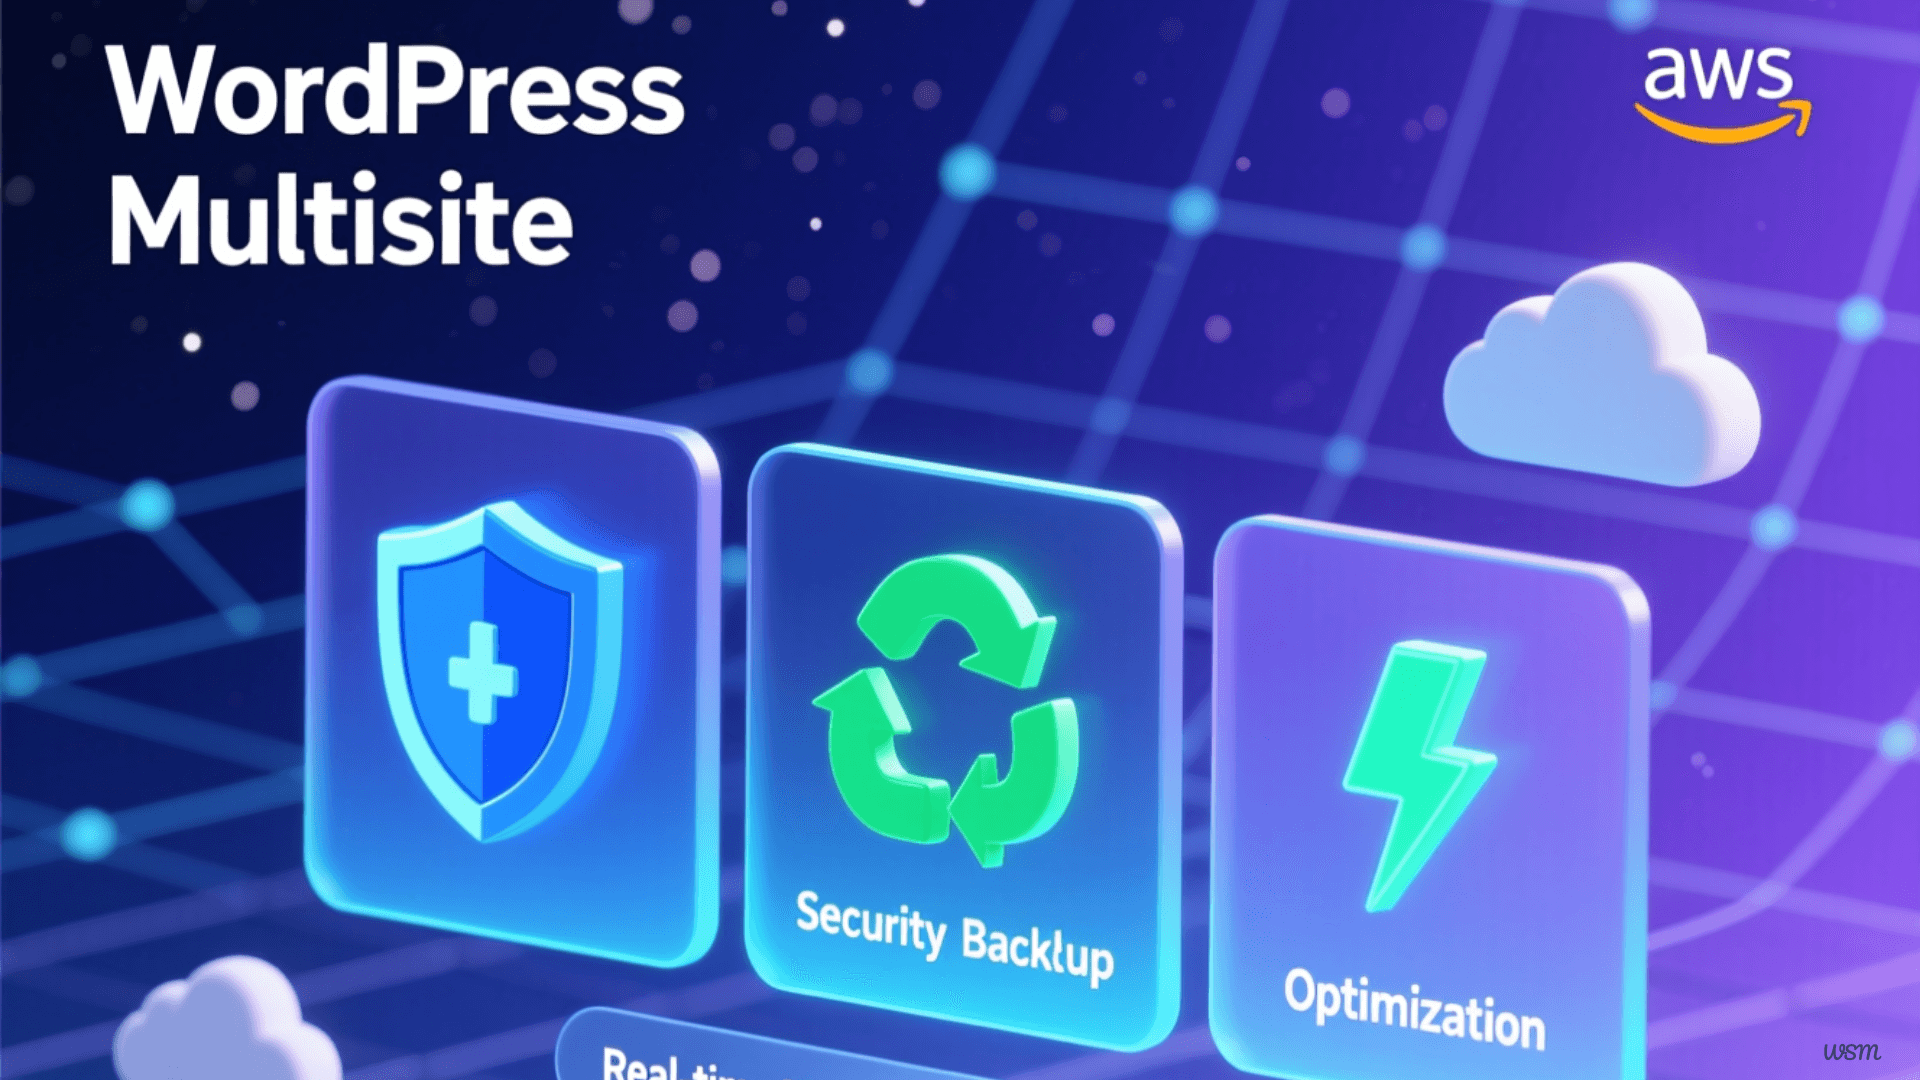
WordPress Multisite Backup, Security, and Optimization Bitnami WordPress Multisite on AWS Lightsail
WordPress Multisite is an advanced feature that allows you to run multiple WordPress sites from a single installation. This capability is particularly beneficial for businesses or individuals who need to manage a network of websites efficiently. With multisite, you can share themes and plugins across all sites, which simplifies updates and administration.
One of the primary advantages of WordPress Multisite is the centralized control it offers. As an administrator, you have the ability to manage all your sites from a single dashboard, streamline user management, and implement changes across the network with minimal effort. This setup is ideal for organizations with multiple branches or a media company running several blogs.
However, setting up a WordPress Multisite is not without its challenges. It requires careful planning and understanding of your hosting environment, especially when integrating with AWS Lightsail and Bitnami. Proper configuration is crucial to ensure that your network runs smoothly and securely.
Benefits of Using WordPress Multisite Hosting
The benefits of utilizing WordPress Multisite hosting are numerous, particularly when using AWS Lightsail. Firstly, it offers cost-effective solutions. By hosting multiple sites on a single instance, you can significantly reduce your hosting expenses. This is especially advantageous for startups or small businesses with tight budgets.
Another significant benefit is the ease of management. With WordPress Multisite, you can update plugins, themes, and WordPress core files across all your websites simultaneously. This reduces the time and effort required to maintain each site individually. Additionally, user management is simplified, as you can assign roles and permissions across the network.
Finally, WordPress Multisite hosting provides scalability. As your network grows, you can easily add new sites without having to set up a new WordPress installation each time. This scalability is crucial for businesses looking to expand their digital footprint without encountering technical hurdles.
Key Considerations for WordPress Multisite Development
Developing a WordPress Multisite network requires careful consideration of your requirements and infrastructure. One of the first considerations is your hosting provider. AWS Lightsail, combined with Bitnami, offers a robust and scalable environment ideal for hosting a multisite network. However, you must ensure your server resources are sufficient to handle the load.
Another critical factor is the architecture of your network. Decide whether you want subdomains (e.g., site1.yourdomain.com) or subdirectories (e.g., yourdomain.com/site1) for your sites. This decision affects your SEO and should align with your branding strategy. Additionally, ensure that your themes and plugins are multisite-compatible to avoid functionality issues.
Security is another vital consideration. A breach on one site can potentially affect all other sites in the network. Implement strong security measures, such as regular updates, strong passwords, and two-factor authentication, to protect your entire multisite environment from threats.
Step-by-Step Guide to WordPress Multisite Setup
Setting up a WordPress Multisite on AWS Lightsail with Bitnami involves several steps. First, ensure that your Lightsail instance is up and running with Bitnami WordPress installed. Access your WordPress dashboard and navigate to the wp-config.php file. Add the following line:
define('WP_ALLOW_MULTISITE', true);
After saving the changes, refresh your WordPress dashboard. You'll find a new "Network Setup" option under the "Tools" menu. Follow the on-screen instructions to configure your multisite network, choosing between subdomains or subdirectories based on your earlier decision.
Once the network is set up, you'll need to configure your domain's DNS settings if you're using subdomains. This involves adding wildcard DNS entries to ensure that all subdomains resolve correctly. Finally, test your setup by creating a new site within the network and verifying that everything functions as expected.
Best Practices for WordPress Multisite Management
Efficient management is crucial for maintaining a healthy WordPress Multisite network. Regularly update all plugins, themes, and WordPress core to protect against vulnerabilities. Utilize a staging environment to test updates before deploying them to your live network to avoid potential conflicts.
User management is another critical aspect of multisite administration. Assign roles and capabilities judiciously to prevent unauthorized access. Consider implementing a role management plugin to customize permissions according to your network's needs.
Lastly, monitor your network's performance and security. Use analytics tools to track site traffic and identify any unusual patterns. Security plugins can alert you to potential threats and help you take preventive measures. Regular monitoring ensures your network remains efficient and secure.
Configuring Different Domains in a WordPress Multisite
Configuring different domains in a WordPress Multisite allows each site to have its own unique domain name. This setup is ideal for businesses wanting distinct branding for each site in their network. Start by ensuring your DNS records point to your server's IP address for each domain you want to associate with a multisite.
Next, install a domain mapping plugin, such as WordPress MU Domain Mapping, to facilitate the process. After activating the plugin, navigate to its settings and configure each domain to correspond with the appropriate site in your network. This step ensures that visitors accessing a specific domain are directed to the correct site.
Finally, update your wp-config.php and .htaccess files as needed to accommodate the new domain configurations. Test the setup by visiting each domain to ensure they resolve correctly to their respective sites. Proper configuration guarantees seamless operation and enhances user experience.
Backup Solutions for Bitnami WordPress Multisite on AWS Lightsail
Backing up your WordPress Multisite is critical to safeguarding your data against unexpected events. Bitnami offers built-in backup tools that can be utilized to create regular snapshots of your entire environment. This includes databases, files, and configurations, ensuring a quick recovery in case of failure.
For more comprehensive backup solutions, consider using plugins such as UpdraftPlus or BackupBuddy. These plugins offer automated backup schedules, remote storage options, and easy restoration processes. They are particularly useful for larger networks with complex configurations.
Remember to store backups in multiple locations, such as cloud storage and external drives, to prevent data loss due to hardware failure. Regularly test your backups by restoring them in a staging environment to verify their integrity and reliability.
Set Up Manual Backup Script (Database + Files)
Create a comprehensive backup script:
# Create backup directory
sudo mkdir -p /home/bitnami/backups
sudo chown bitnami:bitnami /home/bitnami/backups

# Create backup script
nano /home/bitnami/backup-wordpress.sh
Add this content:
#!/bin/bash

# Configuration
BACKUP_DIR="/home/bitnami/backups"
DATE=$(date +%Y%m%d_%H%M%S)
BACKUP_NAME="wordpress_backup_$DATE"
RETENTION_DAYS=7

# Create backup directory for this run
mkdir -p "$BACKUP_DIR/$BACKUP_NAME"

# Get database credentials
DB_NAME=$(grep DB_NAME /opt/bitnami/wordpress/wp-config.php | cut -d "'" -f 4)
DB_USER=$(grep DB_USER /opt/bitnami/wordpress/wp-config.php | cut -d "'" -f 4)
DB_PASSWORD=$(grep DB_PASSWORD /opt/bitnami/wordpress/wp-config.php | cut -d "'" -f 4)

# Backup database
echo "Backing up database..."
mysqldump -u $DB_USER -p$DB_PASSWORD $DB_NAME | gzip >
"$BACKUP_DIR/$BACKUP_NAME/database.sql.gz"

# Backup WordPress files
echo "Backing up WordPress files..."
tar -czf "$BACKUP_DIR/$BACKUP_NAME/wordpress_files.tar.gz" -C /opt/bitnami/wordpress .

# Backup Apache configuration
echo "Backing up Apache config..."
tar -czf "$BACKUP_DIR/$BACKUP_NAME/apache_config.tar.gz" -C /opt/bitnami/apache/conf .

# Create backup info file
echo "Backup created: $DATE" > "$BACKUP_DIR/$BACKUP_NAME/backup_info.txt"
echo "Database: $DB_NAME" >> "$BACKUP_DIR/$BACKUP_NAME/backup_info.txt"
echo "WordPress Path: /opt/bitnami/wordpress" >>
"$BACKUP_DIR/$BACKUP_NAME/backup_info.txt"

# Create a final compressed archive
cd "$BACKUP_DIR"
tar -czf "${BACKUP_NAME}.tar.gz" "$BACKUP_NAME"
rm -rf "$BACKUP_NAME"

# Delete old backups
echo "Cleaning up old backups..."
find "$BACKUP_DIR" -name "wordpress_backup_*.tar.gz" -mtime +$RETENTION_DAYS -delete

echo "Backup completed: ${BACKUP_NAME}.tar.gz"
echo "Backup size: $(du -h $BACKUP_DIR/${BACKUP_NAME}.tar.gz | cut -f1)"
Make it executable:
chmod +x /home/bitnami/backup-wordpress.sh
Schedule Automated Backups with Cron
# Edit crontab
crontab -e
Add this line (daily at 2 AM):
0 2 * * * /home/bitnami/backup-wordpress.sh >> /home/bitnami/backups/backup.log 2>&1
Test the Backup Script
# Run manually to test
/home/bitnami/backup-wordpress.sh

# Check backup was created
ls -lh /home/bitnami/backups/
Set Up AWS S3 Backup (Optional but Recommended)
# Install AWS CLI
sudo apt install awscli -y

# Configure AWS credentials
aws configure
# Enter your AWS Access Key ID
# Enter your AWS Secret Access Key
# Region: ap-southeast-2
# Output format: json
Create S3 sync script:
nano /home/bitnami/sync-to-s3.sh
#!/bin/bash
BACKUP_DIR="/home/bitnami/backups"
S3_BUCKET="s3://firstlineai-wordpress-backups"
DATE=$(date +%Y%m%d)

# Sync to S3
aws s3 sync $BACKUP_DIR $S3_BUCKET/lightsail-backups/ --exclude "*.log"

echo "Backup synced to S3: $DATE"
chmod +x /home/bitnami/sync-to-s3.sh
# Add to crontab (runs 30 minutes after backup)
crontab -e
# Add: 30 2 * * * /home/bitnami/sync-to-s3.sh >> /home/bitnami/backups/s3sync.log 2>&1
Enhancing Security for Your WordPress Multisite
Security is paramount for a WordPress Multisite network, given its exposure to potential threats. Begin by enforcing strong password policies across your network to prevent unauthorized access. Encourage users to use complex passwords and consider enabling two-factor authentication for added protection.
Regularly update your WordPress core, themes, and plugins to patch any vulnerabilities. Enable automatic updates where possible, and use a security plugin like Wordfence or Sucuri to scan for malware and suspicious activity. These plugins provide real-time protection and alerts, helping you respond swiftly to any threats.
Finally, implement secure server configurations. Use firewalls to block unauthorized traffic and secure your database with strong credentials. Regular audits and monitoring are essential to maintaining a robust security posture and ensuring the integrity of your multisite network.
Set Proper File Permissions
# WordPress files
sudo find /opt/bitnami/wordpress -type d -exec chmod 755 {} \;
sudo find /opt/bitnami/wordpress -type f -exec chmod 644 {} \;

# wp-config.php (extra secure)
sudo chmod 440 /opt/bitnami/wordpress/wp-config.php
sudo chown root:daemon /opt/bitnami/wordpress/wp-config.php

# .htaccess
sudo chmod 644 /opt/bitnami/wordpress/.htaccess
Secure wp-config.php
sudo nano /opt/bitnami/wordpress/wp-config.php
Add these security enhancements:
/* Security Settings */
define('DISALLOW_FILE_EDIT', true); // Disable theme/plugin editor
define('WP_POST_REVISIONS', 5); // Limit post revisions
define('EMPTY_TRASH_DAYS', 7); // Auto-empty trash after 7 days
define('WP_AUTO_UPDATE_CORE', 'minor'); // Auto-update minor versions

// Force SSL for admin
define('FORCE_SSL_ADMIN', true);
Install Security Plugin (Wordfence)
cd /opt/bitnami/wordpress/wp-content/plugins
sudo wget https://downloads.wordpress.org/plugin/wordfence.latest-stable.zip
sudo unzip wordfence.latest-stable.zip
sudo rm wordfence.latest-stable.zip
sudo chown -R bitnami:daemon wordfence
Configure Wordfence:
- Activate plugin in WordPress Admin
- Go to Wordfence → All Options
- Key settings
- Enable Firewall
- Enable Login Security (limit login attempts)
- Enable Two-Factor Authentication for admin
- Enable Malware Scanning (weekly)
Update .htaccess Security Rules
sudo nano /opt/bitnami/wordpress/.htaccess
Add these security rules at the top:
# BEGIN Security Rules

# Protect wp-config.php
<files wp-config.php>
 order allow,deny
 deny from all
</files>

# Disable directory browsing
Options -Indexes

# Protect .htaccess and .htpasswd
<FilesMatch "^\.ht">
 Order allow,deny
 Deny from all
 Satisfy All
</FilesMatch>

# Limit file upload size (adjust as needed)
php_value upload_max_filesize 64M
php_value post_max_size 64M
php_value max_execution_time 300
php_value max_input_time 300

# Block access to xmlrpc.php (prevents brute force)
<Files xmlrpc.php>
 order deny,allow
 deny from all
</Files>

# END Security Rules
Change Database Prefix (If Not Already Done)
For multisite, this is more complex. If it's a fresh install:
# Use a plugin like "Change DB Prefix"
# Or do it manually before importing content
CONTENT SECURITY POLICY (CSP) SETUP
Based on your earlier issue, configure proper CSP headers:
sudo nano /opt/bitnami/wordpress/.htaccess
Add after the security rules:
# BEGIN Content Security Policy
<IfModule mod_headers.c>
 Header set Content-Security-Policy "\
 default-src 'self'; \
 script-src 'self' 'unsafe-inline' 'unsafe-eval' https://stats.wp.com
https://www.google.com https://www.gstatic.com; \
 style-src 'self' 'unsafe-inline' https://fonts.googleapis.com; \
 font-src 'self' data: https://fonts.gstatic.com; \
 img-src 'self' data: https: http:; \
 connect-src 'self'; \
 frame-src 'self' https://www.google.com; \
 object-src 'none'; \
 base-uri 'self';"
</IfModule>
# END Content Security Policy
Optimization Techniques for WordPress Multisite on AWS Lightsail
Optimizing your WordPress Multisite network enhances performance and user experience. Start by enabling caching through plugins like W3 Total Cache or WP Super Cache. These plugins reduce load times by storing static versions of your pages, minimizing server load.
Image optimization is another effective technique. Use tools like Smush or ShortPixel to compress images without sacrificing quality. This reduces page size and improves load times, especially on image-heavy sites. Additionally, consider using a Content Delivery Network (CDN) to distribute content globally and reduce latency.
Lastly, monitor your site's performance using tools like Google PageSpeed Insights or GTmetrix. These tools identify areas for improvement and provide actionable recommendations. Regular optimization ensures your network runs smoothly and efficiently, keeping users satisfied.
Install Caching Plugin
W3 Total Cache (Recommended for multisite):
cd /opt/bitnami/wordpress/wp-content/plugins
sudo wget https://downloads.wordpress.org/plugin/w3-total-cache.latest-stable.zip
sudo unzip w3-total-cache.latest-stable.zip
sudo rm w3-total-cache.latest-stable.zip
sudo chown -R bitnami:daemon w3-total-cache
Configure:
- Network Activate in multisite
- Go to Performance → General Settings
- Enable:
- Page Cache: Disk Enhanced
- Minify: Manual
- Database Cache: Disk
- Object Cache: Disk
- Browser Cache: Enable
Enable PHP OPcache
# Check if OPcache is enabled
php -i | grep opcache

# If not enabled, edit php.ini
sudo nano /opt/bitnami/php/etc/php.ini
Add/modify these lines:
opcache.enable=1
opcache.memory_consumption=128
opcache.interned_strings_buffer=8
opcache.max_accelerated_files=4000
opcache.revalidate_freq=60
opcache.fast_shutdown=1
# Restart Apache
sudo /opt/bitnami/ctlscript.sh restart apache
Optimize Database
# Create optimization script
nano /home/bitnami/optimize-database.sh
#!/bin/bash
DB_NAME=$(grep DB_NAME /opt/bitnami/wordpress/wp-config.php | cut -d "'" -f 4)
DB_USER=$(grep DB_USER /opt/bitnami/wordpress/wp-config.php | cut -d "'" -f 4)
DB_PASSWORD=$(grep DB_PASSWORD /opt/bitnami/wordpress/wp-config.php | cut -d "'" -f 4)

mysql -u $DB_USER -p$DB_PASSWORD $DB_NAME -e "OPTIMIZE TABLE $(mysql -u $DB_USER -
p$DB_PASSWORD $DB_NAME -Bse 'SHOW TABLES' | tr '\n' ',' | sed 's/,$//');"

echo "Database optimized: $(date)"
chmod +x /home/bitnami/optimize-database.sh
# Add to crontab (weekly on Sunday at 3 AM)
crontab -e
# Add: 0 3 * * 0 /home/bitnami/optimize-database.sh >> /home/bitnami/databaseoptimize.log 2>&1
Conclusion: Efficiently Managing Your WordPress Multisite
Managing a WordPress Multisite network on Bitnami with AWS Lightsail involves careful planning and execution. By understanding the intricacies of multisite hosting, development, and management, you can create a robust and scalable network that meets your organization's needs.
Implementing best practices for backup, security, and optimization ensures your sites run smoothly and securely. Regular monitoring and updates keep your network resilient against threats and performance issues. By following the guidelines outlined in this guide, you'll be well-equipped to manage your WordPress Multisite efficiently and effectively.
For those embarking on their WordPress Multisite journey, remember that a well-managed network can significantly enhance your online presence. Explore the possibilities, experiment with different configurations, and continually refine your approach for optimal results.
Take the next step in building your WordPress Multisite network with confidence. Contact us today for expert assistance in setting up, managing, and optimizing your multisite environment, ensuring seamless performance and robust security.
FAQ: WordPress Multisite Backup, Security, and Optimization
A Multisite network stores all subsites in a single database and shared file structure, which means a failure affects every site in the network. Unlike single-site WordPress, you must back up the entire database, uploads directory, themes, and plugins together. Partial or selective backups may cause broken subsites or missing content.
Snapshots are excellent for full-server disaster recovery, but they are not a substitute for routine operational backups. You should pair snapshots with scheduled database and file backups so you can restore individual data changes without rolling back the entire server.
Security should follow a layered approach:
- Enforce HTTPS and automatic SSL renewal
- Use key-based SSH authentication and limit root access
- Keep WordPress, plugins, and themes updated
- Restrict super admin privileges and plugin installs
- Add a WAF or CDN security layer for attack mitigation
This reduces exposure across every site in the network.
Start with page and object caching, enable a CDN, and optimize the database regularly. Monitor CPU, RAM, and disk usage, then scale the Lightsail instance if traffic increases. For large networks, consider offloading the database to Amazon RDS and enabling advanced caching.
Move to EC2 when your network requires:
- High traffic handling
- Horizontal scaling or load balancing
- Separate database and file storage layers
- Advanced automation or DevOps control
Lightsail is ideal for small-to-medium networks, while EC2 suits enterprise or high-growth Multisite deployments.
Sure — here are the direct links to the resources mentioned, organized by topic for quick access.
Useful Resources — Direct Links
Bitnami & AWS Lightsail Documentation
- Bitnami WordPress Multisite Stack Documentation https://docs.bitnami.com/aws/apps/wordpress-multisite/
- Bitnami bncert Tool (Let’s Encrypt SSL Guide) https://docs.bitnami.com/general/how-to/enable-https-bncert/
- AWS Lightsail Documentation (Instances, Networking, Snapshots) https://lightsail.aws.amazon.com/ls/docs/
- AWS Lightsail CDN Guide https://lightsail.aws.amazon.com/ls/docs/en_us/articles/amazon-lightsail-content-delivery-network
WordPress Multisite & Security Guides
- WordPress Multisite Network Administration https://wordpress.org/documentation/article/create-a-network/
- WordPress Hardening & Security Guide https://wordpress.org/support/article/hardening-wordpress/
- WordPress Backup & Restore Handbook https://wordpress.org/support/article/wordpress-backups/
Backup & Automation
- AWS S3 Storage & Lifecycle Management https://docs.aws.amazon.com/AmazonS3/latest/userguide/object-lifecycle-mgmt.html
- Linux Cron Job Scheduling https://man7.org/linux/man-pages/man5/crontab.5.html
- UpdraftPlus Multisite Documentation https://updraftplus.com/faqs-category/multisite/
- BlogVault Multisite Backup Guide https://blogvault.net/wordpress-multisite-backup/
Security & Performance Optimization
- OWASP Top 10 Security Best Practices https://owasp.org/www-project-top-ten/
- AWS WAF Documentation https://docs.aws.amazon.com/waf/latest/developerguide/
- Cloudflare Security & Performance Docs https://developers.cloudflare.com/
- PHP OpCache Optimization https://www.php.net/manual/en/book.opcache.php
- Apache Performance & Caching Guide https://httpd.apache.org/docs/current/misc/perf-tuning.html
Database, Scaling & Architecture
- MariaDB Administration Reference https://mariadb.com/kb/en/documentation/
- MySQL Backup & Restore Guide https://dev.mysql.com/doc/refman/8.0/en/backup-and-recovery.html
- Amazon RDS for WordPress Architectures https://aws.amazon.com/rds/wordpress/
- Migrate from Lightsail to EC2 https://docs.aws.amazon.com/lightsail/latest/userguide/migrate-to-amazon-ec2.html


