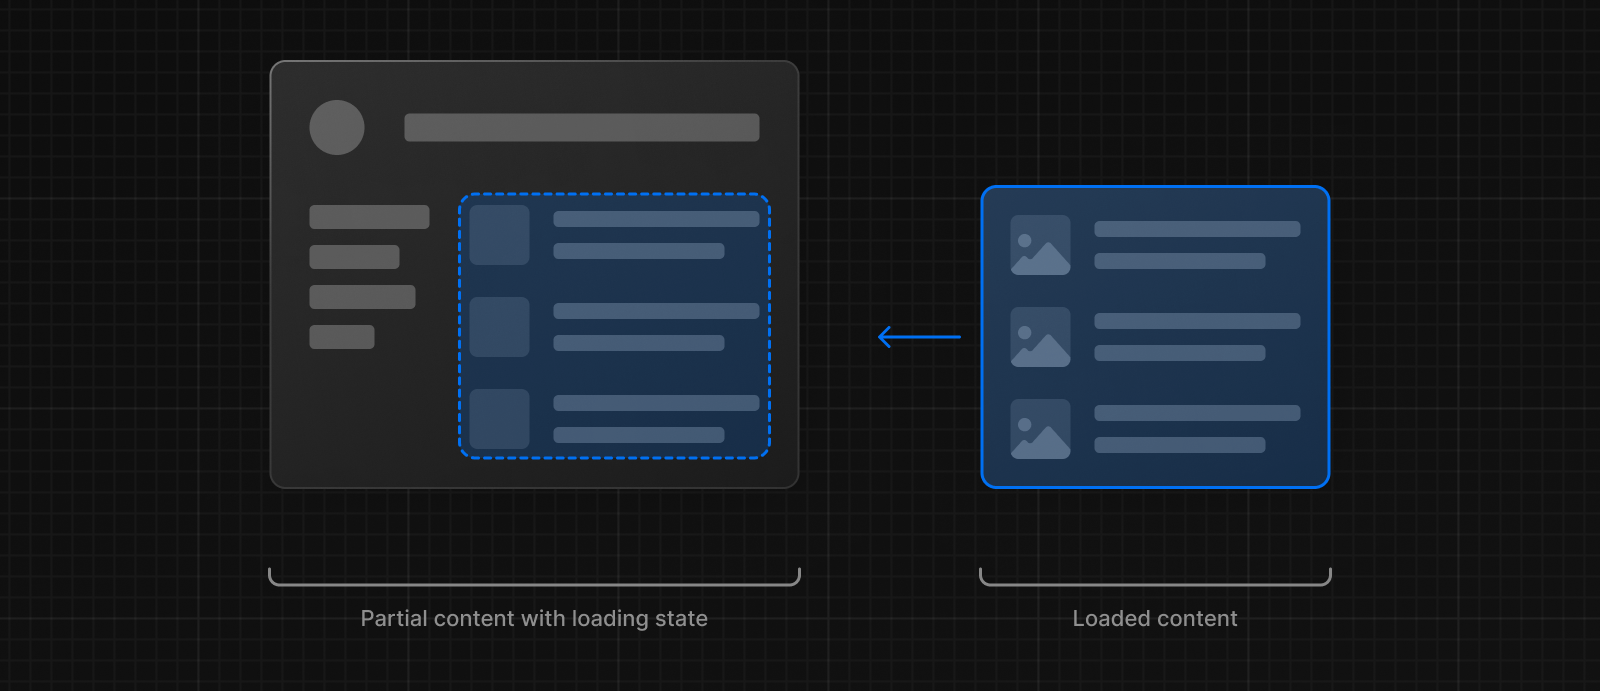
How to implement lazy loading in Next.js?
Lazy loading is a design pattern aimed at delaying the initialization or rendering of a resource until it is actually needed. This technique can significantly improve the performance of web applications by reducing the initial load time, especially for content-rich sites. In the context of Next.js, a popular React framework for building server-side rendered and statically generated web applications, implementing lazy loading can enhance user experience by ensuring that users receive a fast, responsive site.
This article will guide you through the process of implementing lazy loading in a Next.js project, covering images, components, and routes.
Lazy Loading Images in Next.js
Images often account for the majority of a webpage's size. Next.js provides a built-in Image component designed to automatically implement lazy loading of images.
Import the Image Component
First, import the Image component from next/image in your component file.
import Image from "next/image";
Use the Image Component
Replace the standard <img> tag with the Next.js Image component. You must specify the src, width, and height properties. The Image component will take care of the rest, including lazy loading.
<Image
  src="/path/to/your/image.jpg" // The path to your image
  alt="Description of the image"
  width={500} // Desired width
  height={300} // Desired height
  layout="responsive"
/>
The layout="responsive" property ensures that the image scales nicely to the parent element's width while maintaining the aspect ratio defined by the provided width and height.
Lazy Loading Components in Next.js
Next.js supports dynamic imports with React.lazy for component-level lazy loading, but for server-side rendered applications, this approach alone isn't sufficient. Next.js recommends using its dynamic import function that also works server-side.
Dynamic Import
Use the dynamic function from Next.js to import your component dynamically.
import dynamic from "next/dynamic";

const LazyComponent = dynamic(() => import("../components/LazyComponent"), {
  loading: () => <p>Loading...</p>, // Optional loading component
  ssr: false, // Disable server-side rendering for this component
});
Use Your Dynamically Imported Component
Now, you can use LazyComponent just like any other component. It will only be loaded when it's rendered.
const MyComponent = () => (
  <div>
    <p>This is immediately rendered.</p>
    <LazyComponent />
  </div>
);
Lazy Loading Routes in Next.js

Next.js automatically code-splits at the route level, meaning each page only loads what's necessary for that page. However, you can further optimize route transitions by prefetching content for other pages.
Link Component with Prefetching
Next.js's Link component automatically prefetches page resources in the background when the link is visible in the viewport, making future page transitions faster.
import Link from "next/link";

const Navigation = () => (
  <nav>
    <Link href="/about">
      <a>About Us</a>
    </Link>
    <Link href="/contact">
      <a>Contact</a>
    </Link>
  </nav>
);
For manual control over prefetching, you can disable automatic prefetching by passing prefetch={false} to the Link component and use the router object to prefetch programmatically.
import { useRouter } from "next/router";
import { useEffect } from "react";

const MyComponent = () => {
  const router = useRouter();

  useEffect(() => {
    router.prefetch("/some-page");
  }, [router]);

  return <div>Content</div>;
};
Best Practices and Considerations
- Test Performance: Use tools like Google's Lighthouse to measure the impact of lazy loading on your application's performance.
- Placeholder Content: When lazy loading components or images, consider using placeholders to maintain the layout and improve perceived performance.
- Accessibility: Ensure that your lazy loading implementation doesn't negatively impact the accessibility of your site. For images, always provide meaningful
alttext.
Implementing lazy loading in Next.js is straightforward thanks to its built-in support and optimized components. By following the steps outlined in this guide, you can significantly improve the performance and user experience of your Next.js applications.
Advanced Lazy Loading Techniques in Next.js
Beyond the basics of implementing lazy loading for images, components, and routes in Next.js, there are several advanced techniques that can further optimize your application and enhance user experience. These strategies involve more nuanced aspects of lazy loading and performance optimization.
Intersection Observer for Custom Lazy Loading
The Intersection Observer API provides a way to asynchronously observe changes in the intersection of a target element with an ancestor element or with a top-level document's viewport. This can be particularly useful for implementing custom lazy loading behaviors, such as loading content only when it's about to scroll into view.
You can use Intersection Observer in your Next.js project to lazy load images, components, or even fetch data as a component enters the viewport. Here's a simple example of how you might lazy load components:
import { useEffect, useState, useRef } from "react";

const LazyComponent = () => {
  const [isVisible, setIsVisible] = useState(false);
  const ref = useRef();

  useEffect(() => {
    const observer = new IntersectionObserver(
      ([entry]) => {
        if (entry.isIntersecting) {
          setIsVisible(true);
          observer.disconnect();
        }
      },
      {
        rootMargin: "100px", // Load content 100px before it comes into view
      },
    );

    if (ref.current) {
      observer.observe(ref.current);
    }

    return () => {
      if (observer.unobserve && ref.current) {
        observer.unobserve(ref.current);
      }
    };
  }, []);

  return <div ref={ref}>{isVisible && <div>Your content here</div>}</div>;
};
Prioritizing Resources with rel="preload"
The rel="preload" attribute in <link> tags allows you to inform the browser about critical resources that should be loaded early in the page lifecycle. This can be particularly useful for fonts, scripts, or CSS files that are crucial for the initial rendering but might be discovered late in the loading process.
In Next.js, you can include preload links in the <Head> component of your pages or _document.js file:
import Head from "next/head";

const MyPage = () => (
  <>
    <Head>
      <link
        rel="preload"
        href="/path/to/font.woff2"
        as="font"
        type="font/woff2"
        crossOrigin="anonymous"
      />
    </Head>
    <div>{/* Your page content */}</div>
  </>
);
Using the Priority Prop in Next.js Image Component
The Next.js Image component has a priority prop that you can use to indicate that an image is high priority and should be preloaded. This is especially useful for above-the-fold images:
import Image from "next/image";

const MyComponent = () => (
  <div>
    <Image
      src="/path/to/important-image.jpg"
      alt="Important image"
      width={500}
      height={300}
      priority // Tells Next.js to preload this image
    />
  </div>
);
Conclusion
Implementing lazy loading in your Next.js application is a powerful way to improve performance, especially for content-heavy or image-rich sites. By leveraging Next.js's built-in features and exploring advanced techniques like custom Intersection Observer implementations, rel="preload", and the priority prop in the Image component, you can ensure that your application loads quickly and efficiently, providing a better user experience. Always consider the trade-offs and test your implementation to find the right balance between performance and functionality.


